Mixer Layer
 | Mixer Layer | Mix two layer groups with a transition effect |
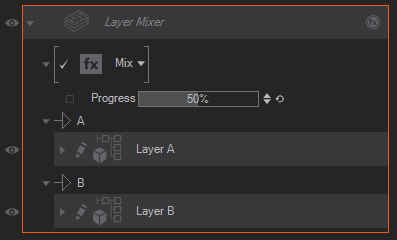
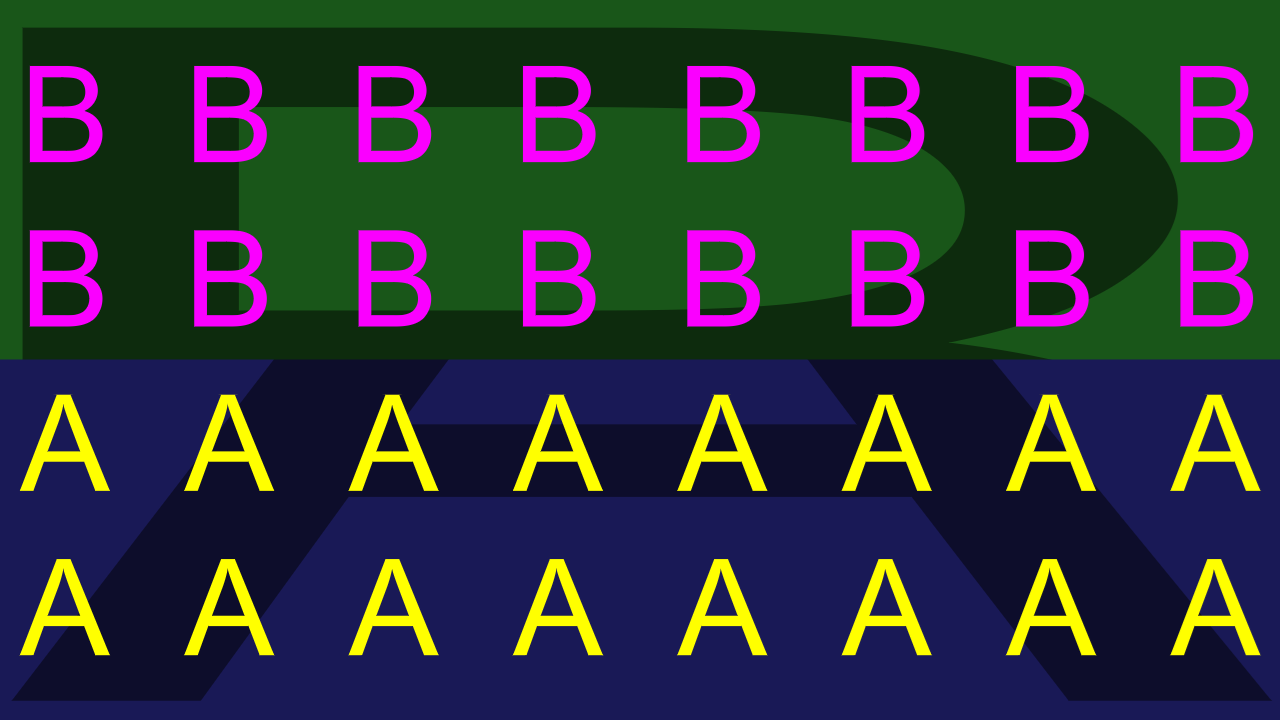
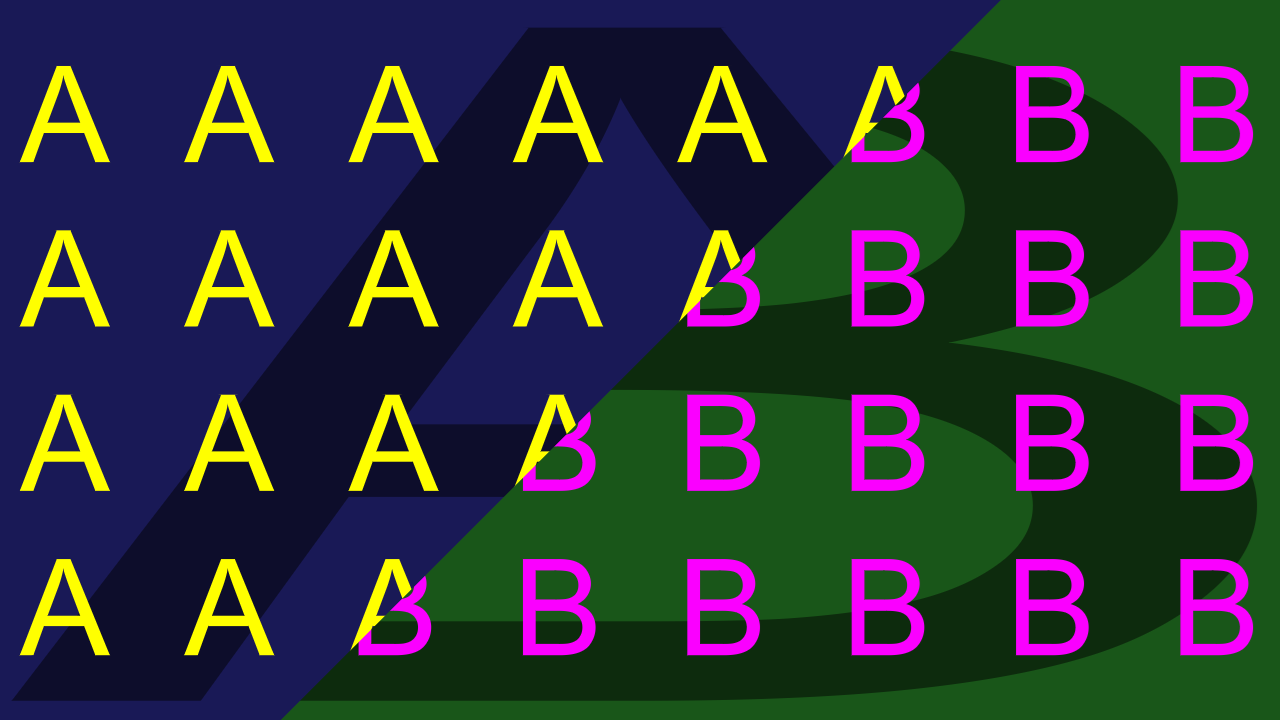
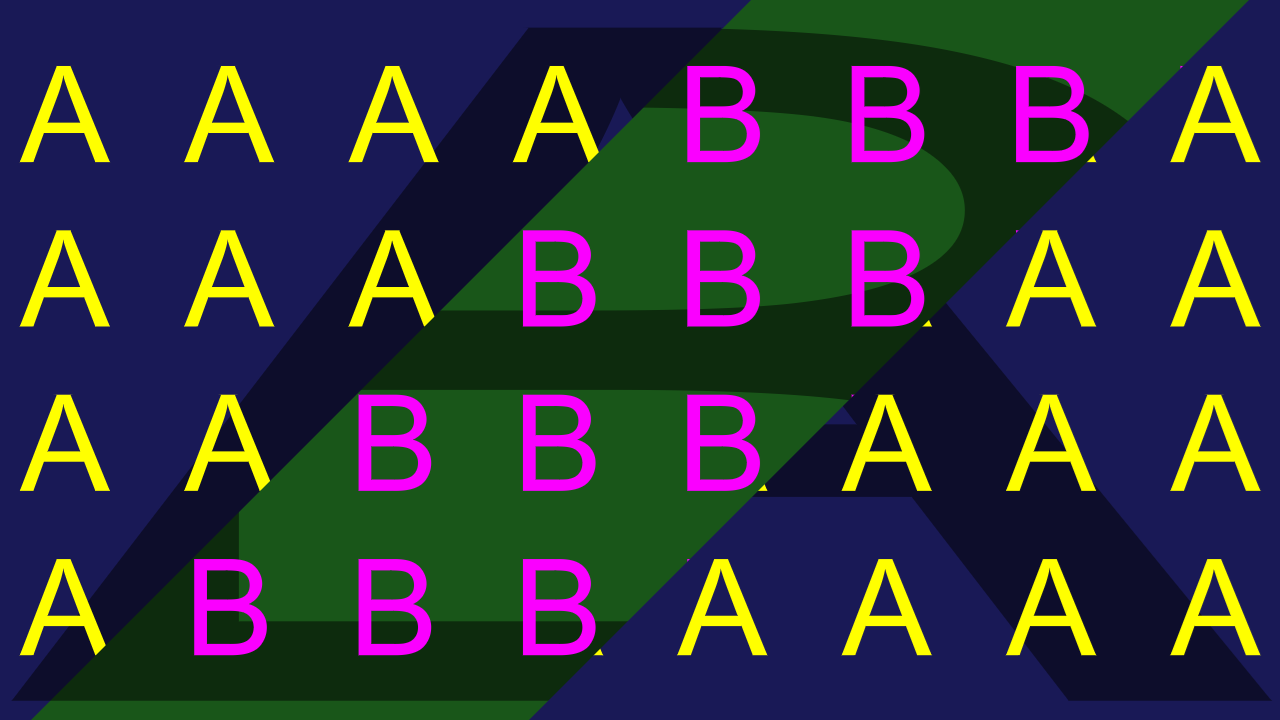
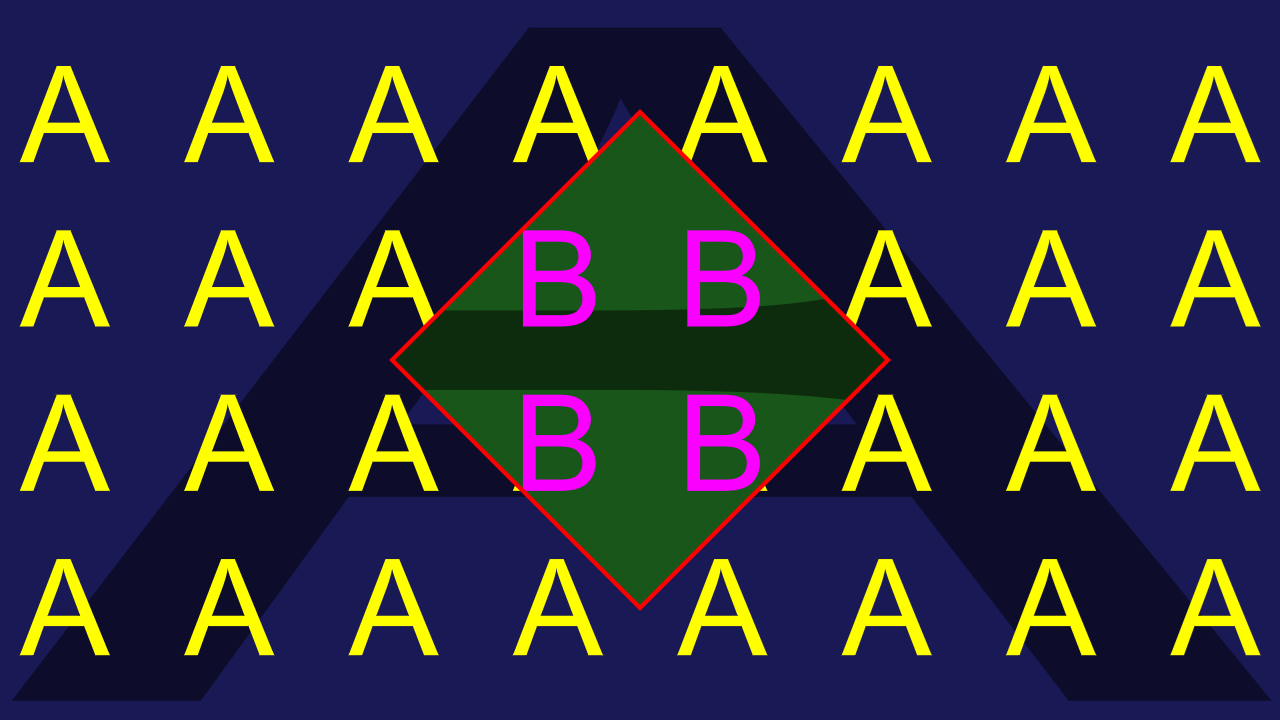
This layer allows you to create a transition between the layers A to the layers B as the progress goes from 0% to 100%. Various traditional video mixer effects are provided, and you can nest multiple mixer layers to create a multi layer mixer.
The mixer will correctly handle transparent input, if one of the two ports is empty a fully transparent image is used. If multiple layers are present in a port, they are composited on transparent like in a layer group.
At the moment we provide the most commonly used transition effects. The system is designed to be expanded with new effects.
Transition Effects
All effects have the Progress property in common:
| Property | Default | Function |
|---|---|---|
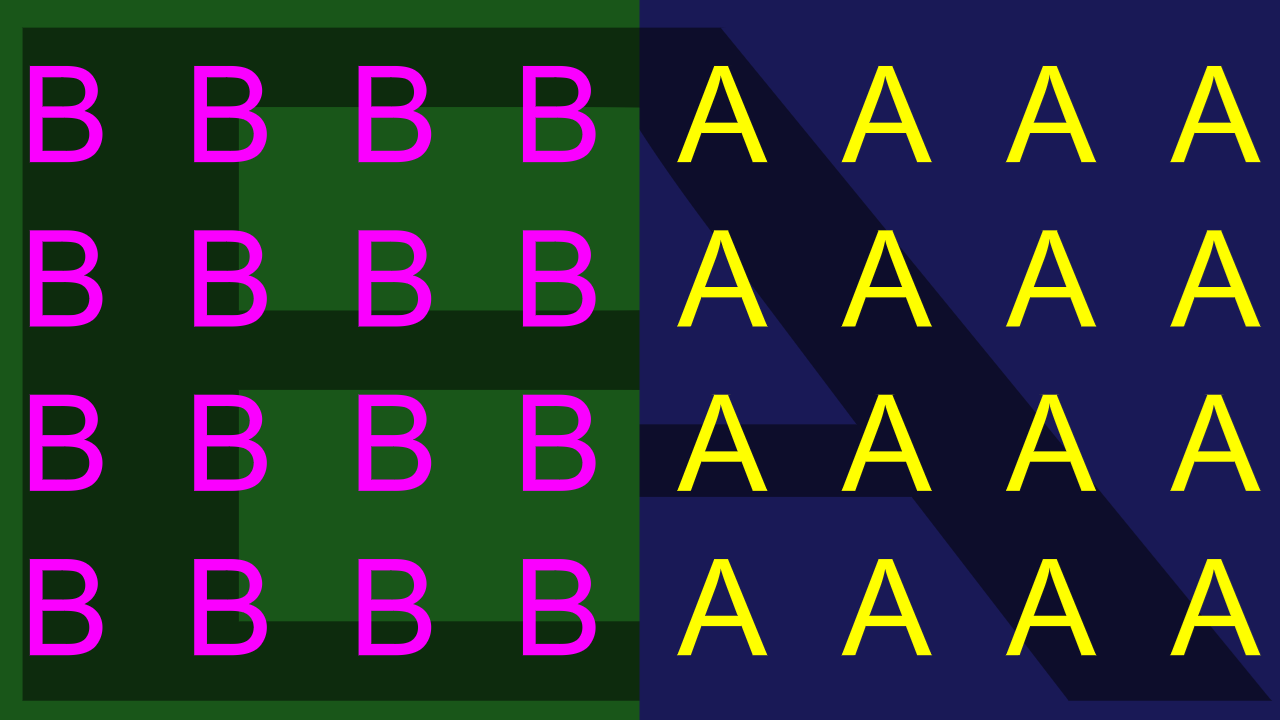
| Progress | 0% | Progress from A (0%) to B(100%) |
All effects make sure that 0% will show only A and 100% will show only B, and that the transition starts directly at values larger than 0% and ends not before 100% is reached.
Effect : Mix
This is the simplest effect, a fade / dissolve from A to B with no further parameters
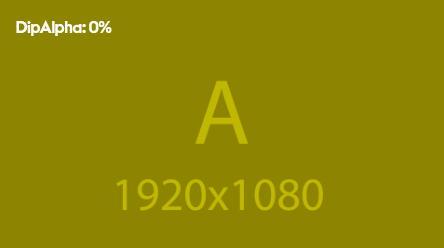
Effect : Dip
This allows to transition from A to a dip-color, and from that to B.
| Property | Default | Function |
|---|---|---|
| Overlap | 0% | at 0%, A will fade completely to the dip color, at 50%, and then fade to B, A and B will not overlap. At 100% overlap, this behaves like mix with the overlap color not visible. Negative values can be used to add a phase where the dip-color is shown for an longer time. |
| DipColor | Black | Color to dip to. |
| DipAlpha | 100% | Alpha to dip to. |
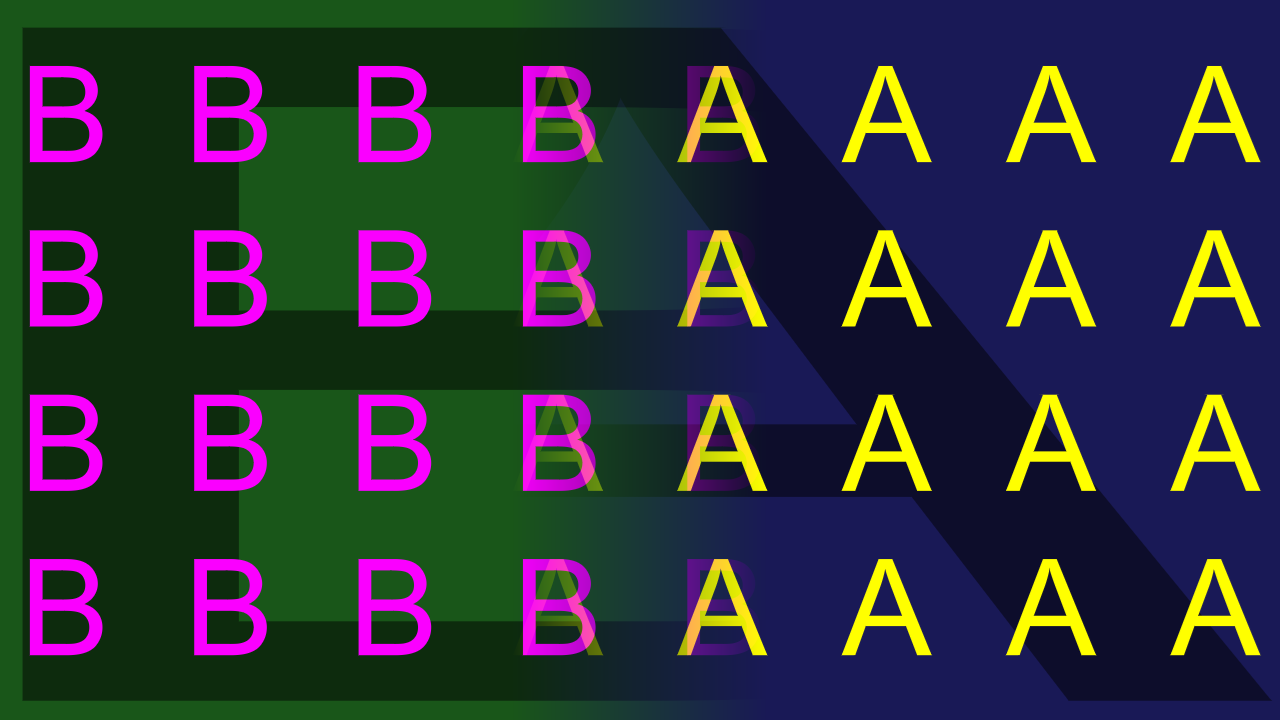
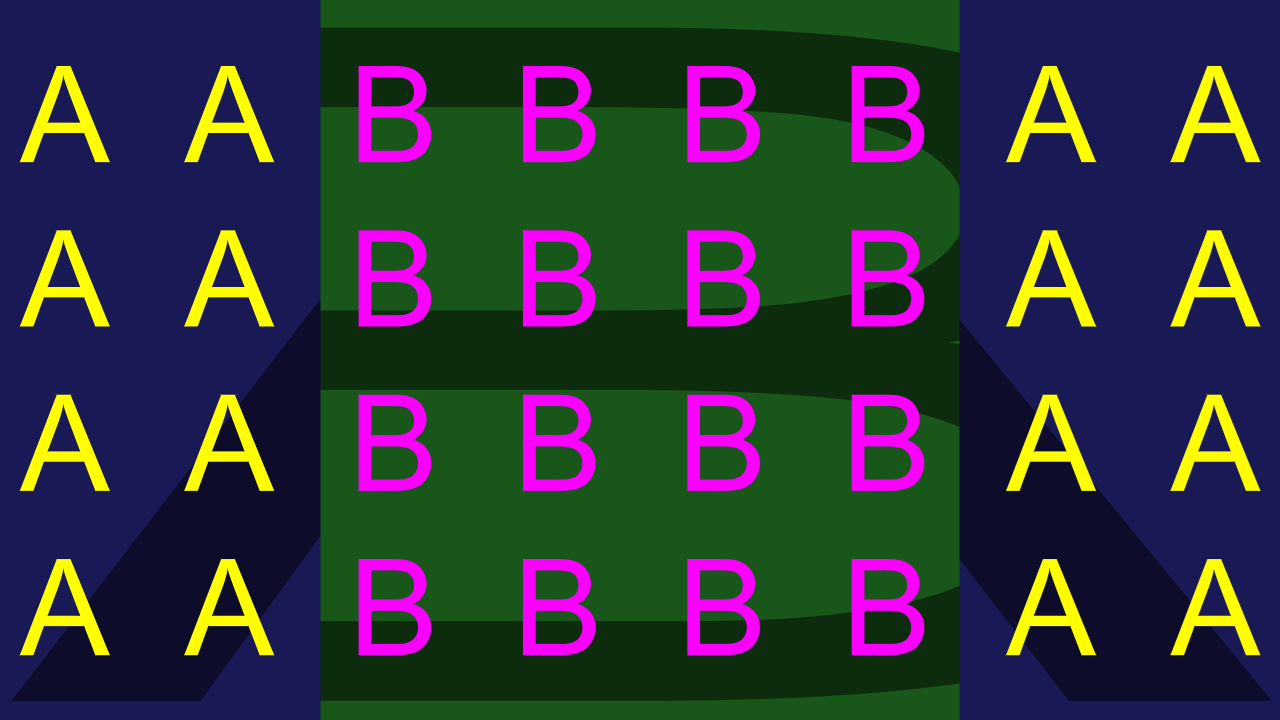
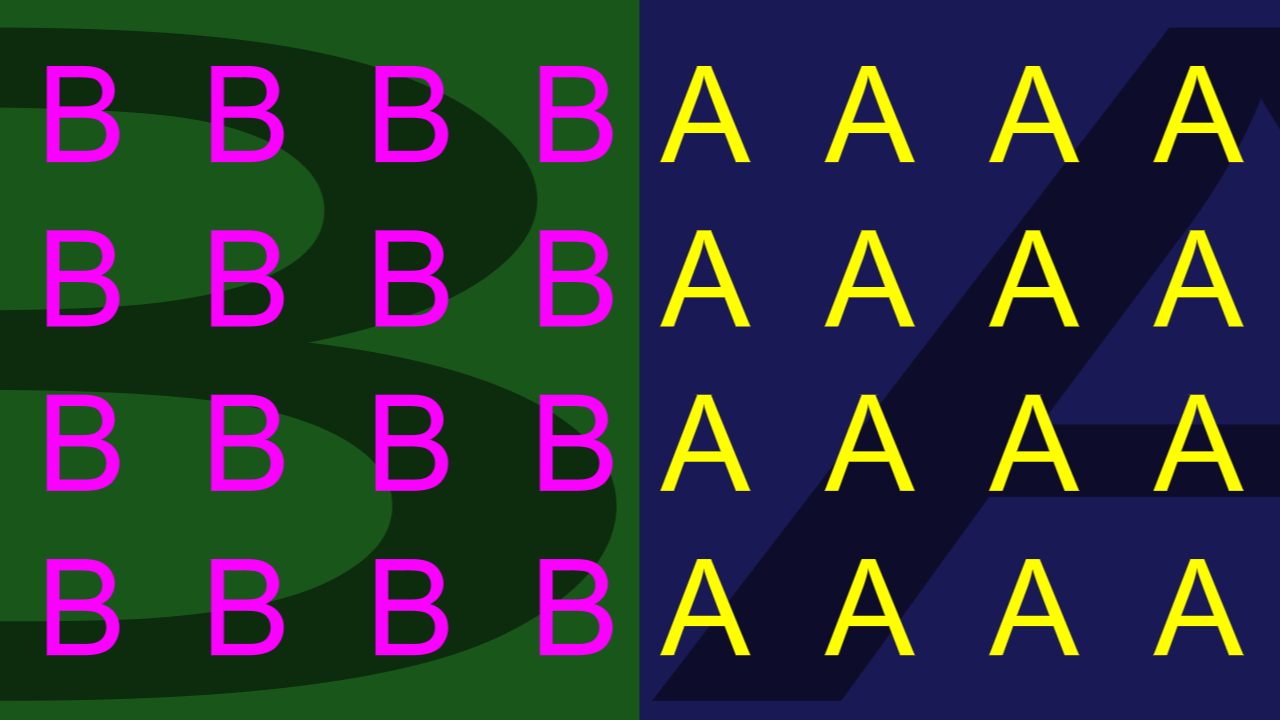
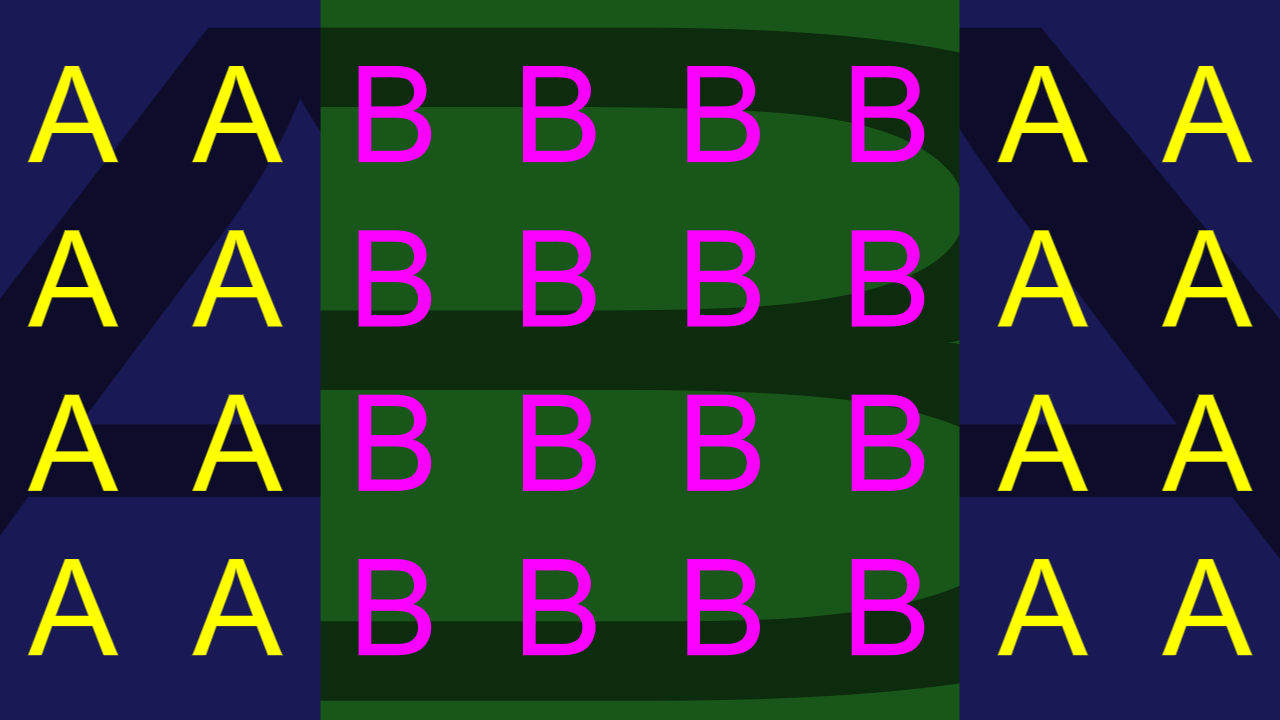
Effect : Wipe
This mode contains transitions where transition from A to B is done by moving an edge across the screen. This includes directional wipes (left / right, top / bottom, diagonally) and iris-like wipes inside / outside.
The Direction property controls the direction and shape to the transition, but first we have to look at the Egde properties:
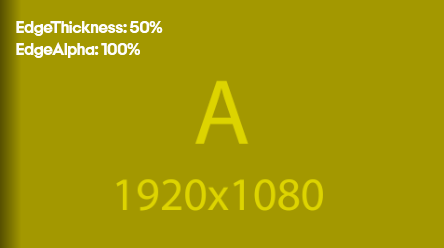
Edge
The edge between the A and B portion of the transition can be controlled through the following properties:
| Property | Default | Function |
|---|---|---|
| EdgeDimension | WidthPercentage | How the EdgeSoftness and EdgeThickness are measued: WidthPercentage: Percentage of width. HeightPercentage: Percentage of height Pixels: Composition Pixels |
| EdgeSoftness | 0 | How blurry the edge is. |
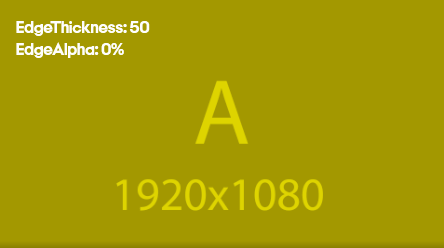
| EdgeThickness | 0 | How thick the edge is, filled with EdgeColor and EdgeAlpha. |
| EdgeColor | Red | Color for the EdgeThickness |
| EdgeAlpha | 100% | Alpha for the EdgeThickness |
Clean Edge
Softness = 20%
Thickness = 1%

Softness = 1%, Thickness = 2%
If both softness and thickness are used, the softness can not be larger than the thickness, and the softness is applied to the transition from A or B to the EdgeColor / EdgeAlpha.
Direction : Horizontal / Vertical
Horizontal and vertical wipes. This can also be used for slide effects.
| Property | Default | Function |
|---|---|---|
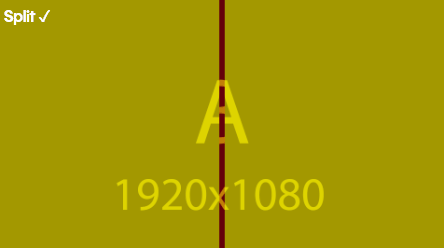
| Split | false | Go from the inside to the outside, not from one edge to the other. |
| Invert | false | Switch the direction. |
| Direction | Vertical | Vertical or Horizontal. |
| SlideA | false | Move the A image with the edge. |
| SlideB | false | Move the B image with the edge. |
Horizonal Wipe:
Vertical Wipe:

Split:
Slide (both A and B):
Slide and Split:
In split mode, only the image that is on the outside can use the slide effect.
Direction : Diagonal
The Diagonal mode allows swipes in other direction than horizontally or vertically, but does not allow for slides.
| Property | Default | Function |
|---|---|---|
| Angle | 0% | Angle for the wipe |
| Split | false | Go from the inside to the outside, not from one edge to the other. |
| Invert | false | Switch the direction. |
Diagonal:
Diagonal Split:
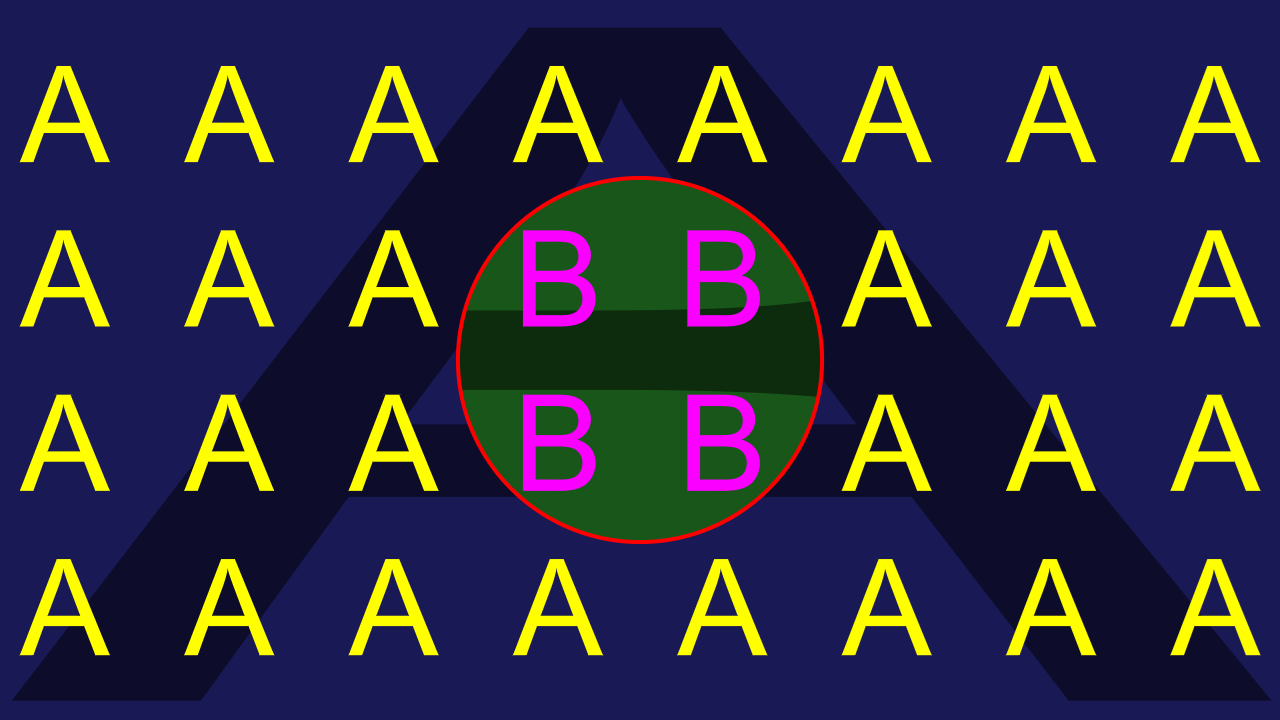
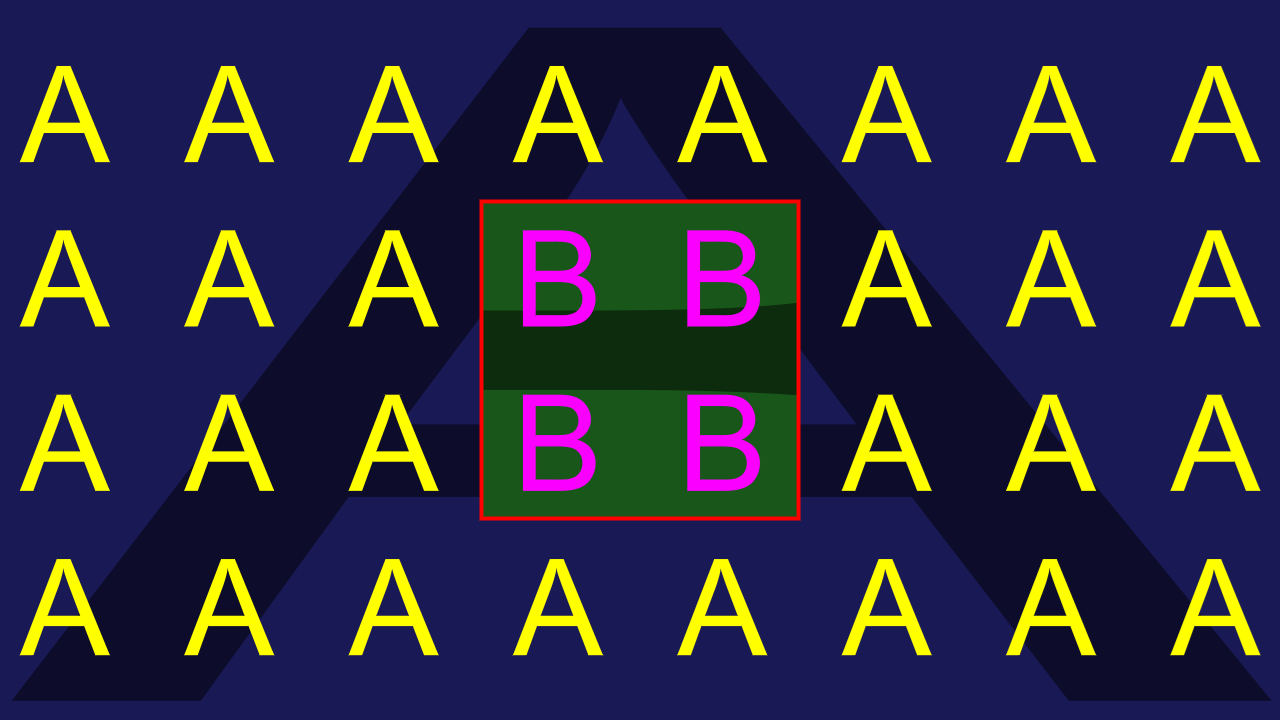
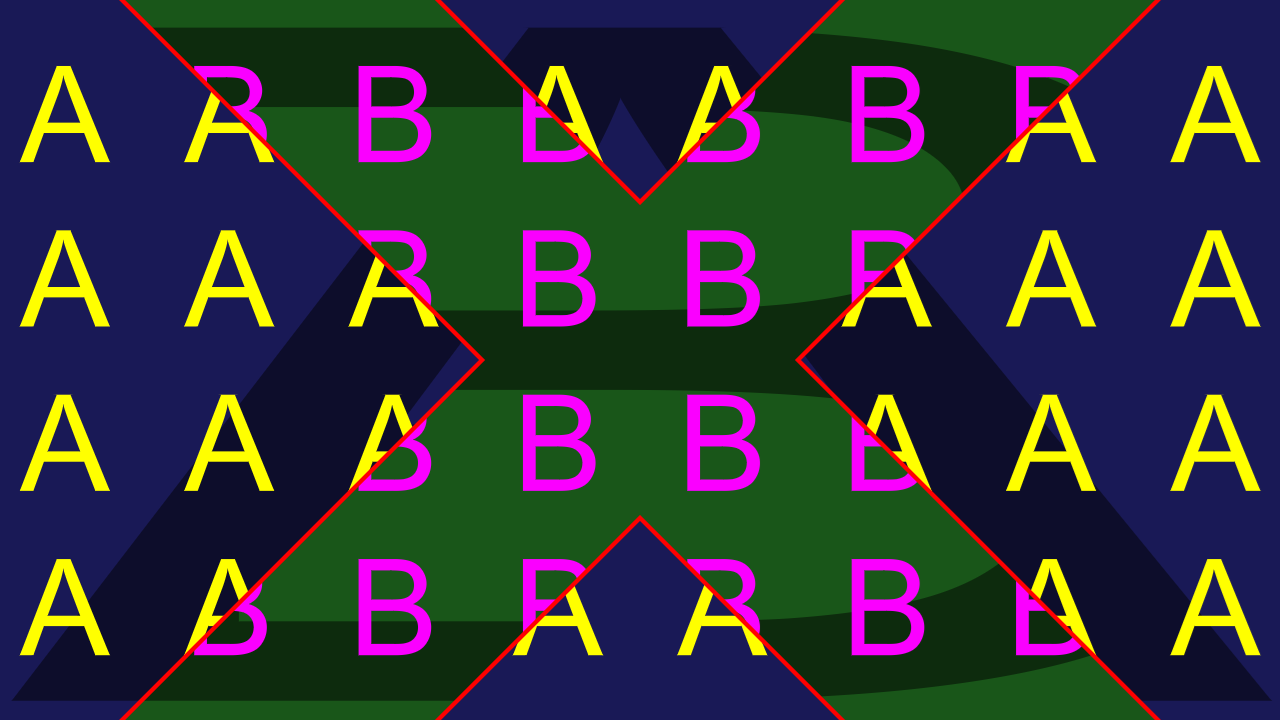
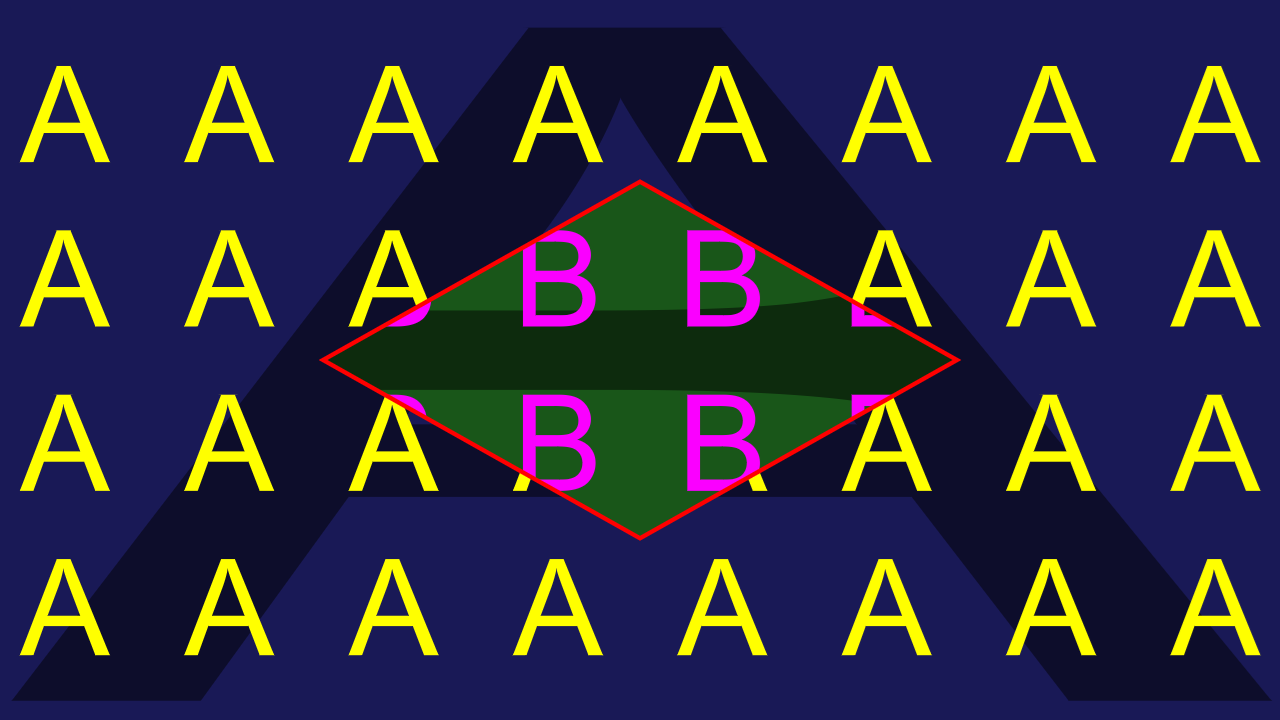
Direction : Iris
These wipes grow the B image from the inside to the outside in various shapes.
| Property | Default | Function |
|---|---|---|
| IrisShape | Circle (correct aspect) | |
| Invert | false | Grow the B image from the outside to the inside |
| CenterX/Y | 50% | Center of the shape |
| Aspect | 0 | Aspect |
| AspectRelation | Absolute | What the default aspect is related to: Absolute: aspect relates to pixels. Relative: aspect relates to canvas |
The aspect related parameters need some explanation, which can be found below. First start with the shape:
Circle:
Rectangle:
Rhombus / Diagonal:
Croxx:

Diagonal Cross:
The aspect parameter is designed to behave symmetrically in width and height:
| Aspect Parameter | Aspect Ratio |
|---|---|
| -3 | 1:8 |
| -2 | 1:4 |
| -1 | 1:2 |
| -0 | 1:1 |
| 1 | 2:1 |
| 2 | 4:1 |
| 3 | 8:1 |
Setting AspectRelation to Relative will base the aspect ratio on the canvas size:
Aspect 1:1, Absolute:
Aspect 1:1, Relative:
The circle shape has an additional problem: if edge thickness or softness is used, calculating the correct thickness of the edge becomes complicated, and correct results might look strange, so just stretching the border with the aspect might look better:
Circle 4:1, Correct aspect:

Circle 4:1, Stretched aspect:

Effect overview
Find below a selection of available FX with different settings for the individual Properties. You may have more properties available then shown below, like the edge- thickness and alpha might be available, but has not been represented here for each and every individual animated preview.
| Mix |
|---|
|
| A simple A/B mix (linear fade) |
| Dip |
|---|
|
| Dip to a defined color or by using alpha it will dip into a background (2D/3D Layer) |
| Wipe | |
|---|---|
 | 
|
| Simple A/B Wipe | A/B Wipe with edge |
 | 
|
| A/B Wipe with Edge Thickness and modified Alpha | A/B Wipe |
 | 
|
 | 
|
 | 
|
 | 
|
 | |